
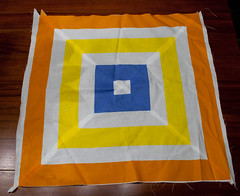
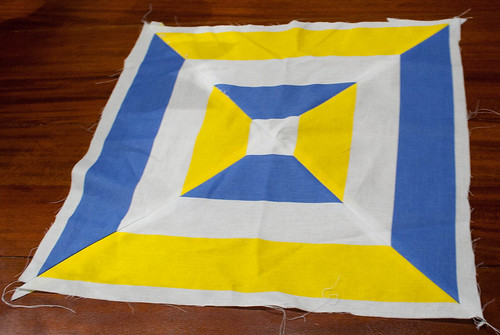
It looks amazing, and seems so simple to just cut striped fabric in a way that makes that neat square thing happen.
It also works for hourglass blocks, where the stripes are strips of fabric sewn together. The "In a Spin" quilt from Red Pepper Quilts also uses this block assembly technique.
Because the math to make these blocks can be somewhat of a pain, especially if you're trying to use up scraps---and don't forget about the seam allowance---I wanted to make an easy to use calculator to determine the correct dimensions for any size block. Not to mention that I think it's ridiculous to have to buy a plastic template, especially if you want a special size. Everyone has cardboard lying around! I have made this handy calculator, to make your own template at home!
PS. if you're a math geek (or even if you're not) and are curious on how this formula was derived, post a comment! I'd be happy to do a follow up post with the details.
Alright, so... the block is created by making a regular square and then dividing it into four triangles like this:

Here is the Fiber Fix super-easy solution to creating these blocks:
- Decide how big you want your finished block to be. The length of one of the sides of the square is the "finished length". For example, if you want your finished block to be 8 inches square and your seam allowance is a quarter inch, this will give you a ready-to-sew block of 8.5 inches.
- Select seam allowance (one quarter or one half inch).
- Click "calculate"
Finished length: inches with seam allowance
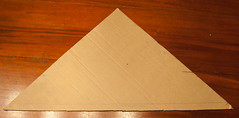
The number provided is the distance you need to measure down two sides of a piece of cardboard (cardstock, plastic.. whatever you have around). Make sure you have a proper right angle, and measure like so.

Cut along the dotted line and you have your triangle template!

 |
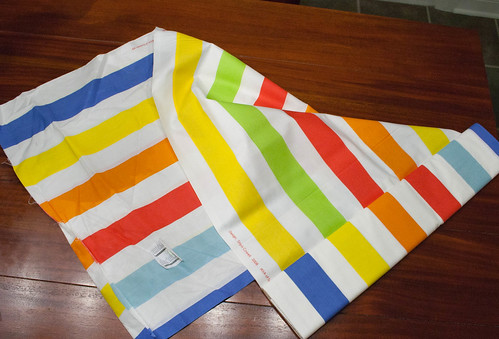
| Notice lots of pencil marks to line stripes up |
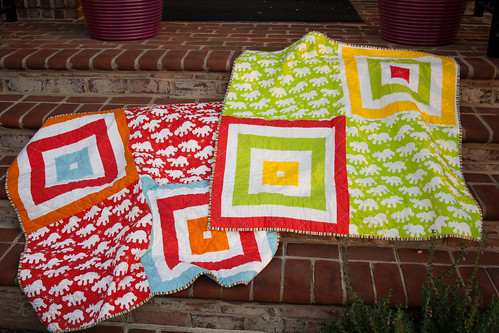
And the finished twin IKEA quilts:
No comments:
Post a Comment