Thursday, March 24, 2011

Spinach Green vs. Powder Blue

After completing the front, and talking to my husband about the back (read: I am discussing the back and he is working on the computer, periodically saying "baby this is your project, I'm sure it will look beautiful") I decided that fleece would make a fantastic back!  Remember we have already deviated from traditional quilting to a "bed covering" so I can do whatever I want.  I was thinking about the quilt I made for Isabella, and it has a fleece back and is just so nice.  There are also cost advantages,  fleece is 60" wide so I only need 5.5 yards and it's super cheap and on sale since it's March and it's warm where I live.

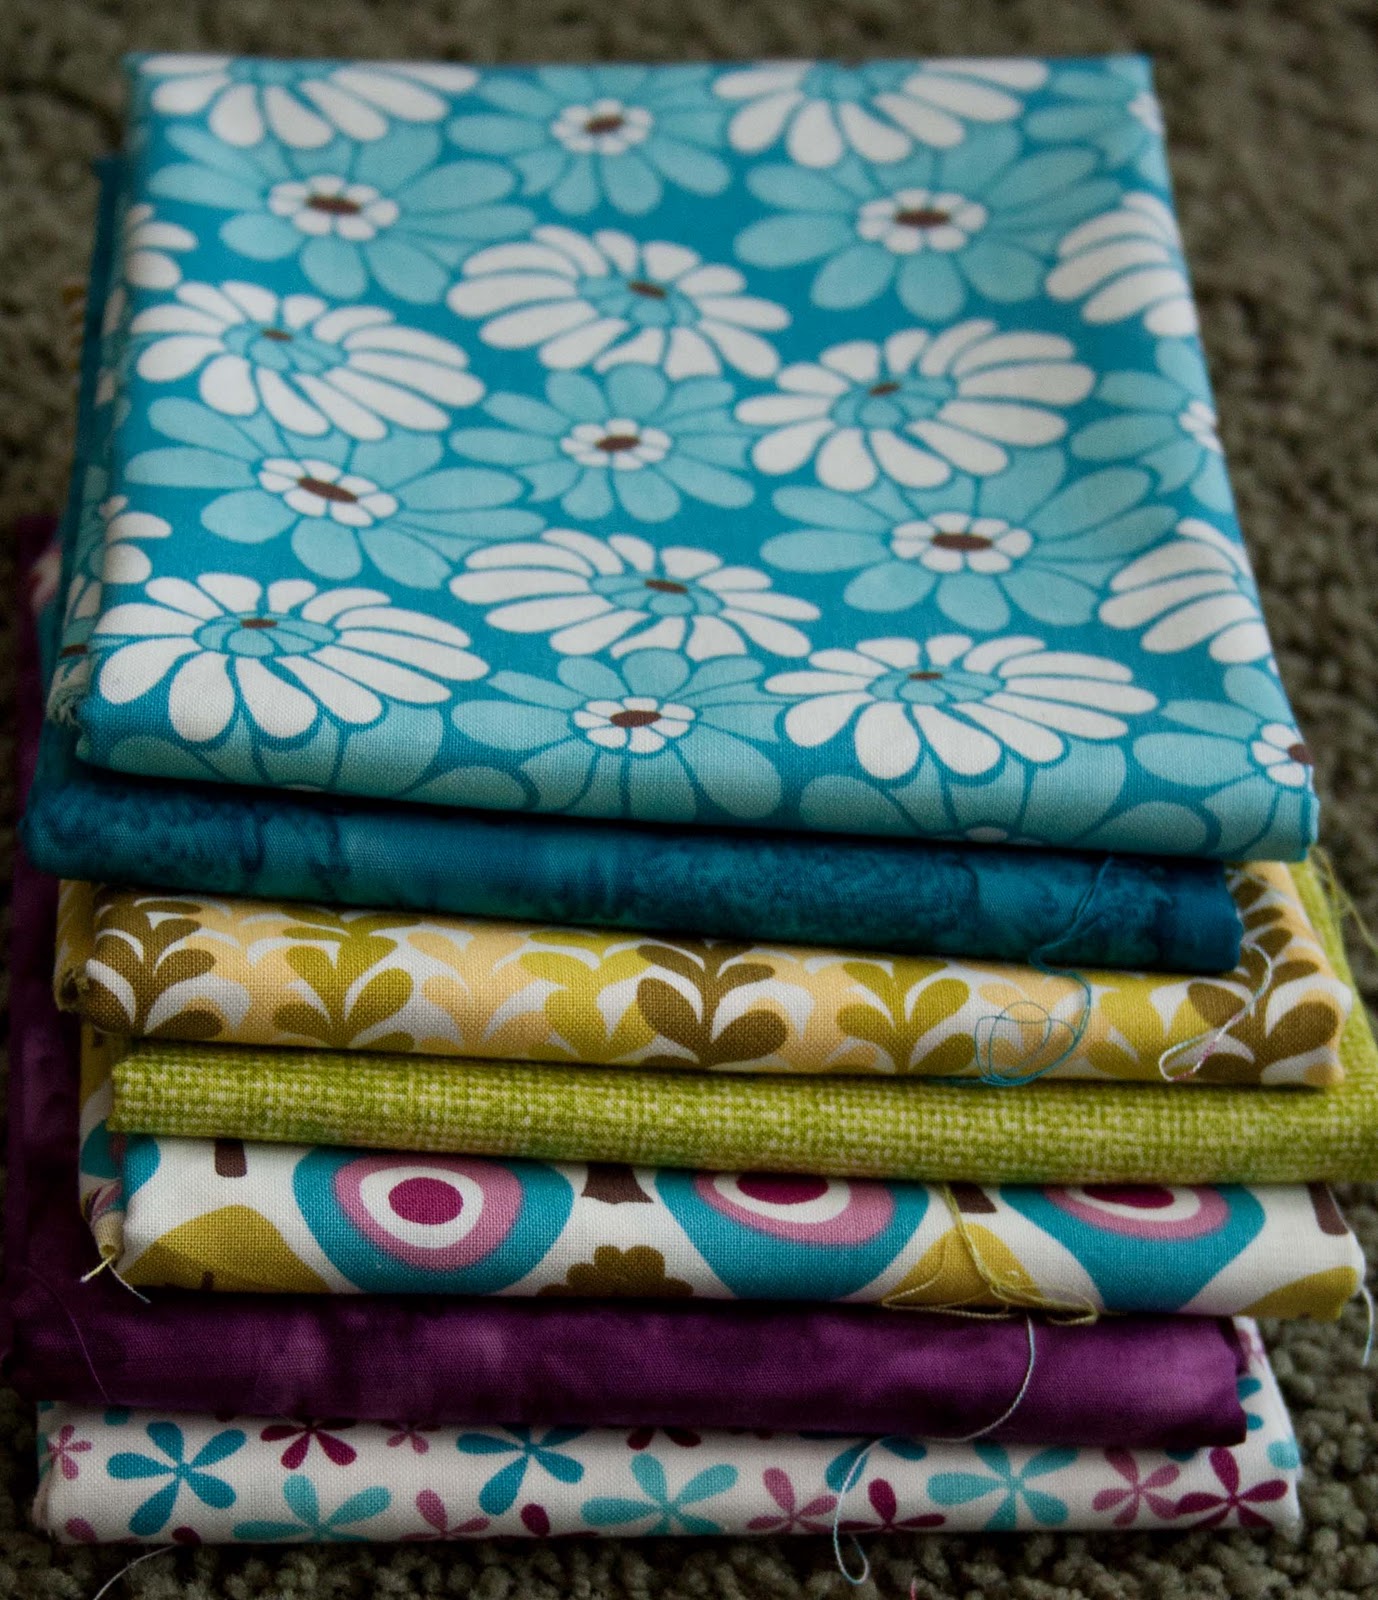
So that left one question, color... Fleece is somewhat limited, and at the end of the season it's even more limited, so I was ready to do whatever,  I ended up picking spinach green fleece.  Has anyone other than me noticed that the lighting in Joann fabrics is totally odd.   It's this weird fluorescent light that makes colors look totally different than they might actually be, specifically it makes them look more mellow than they really are.

So what I thought was a pretty spring green was really SUPER BRIGHT GREEN!!!!! not cute, not pretty, not good.  So instead of making 10 kermit the frog costumes I returned it!  Yes Joann actually returns cut fabric, who knew.  I settled on Powder Blue, which is so much softer and prettier.  It looks great in the room and was a very nice squishy fleece.

Kitties like to test out the blanket, make sure it's good for naps.


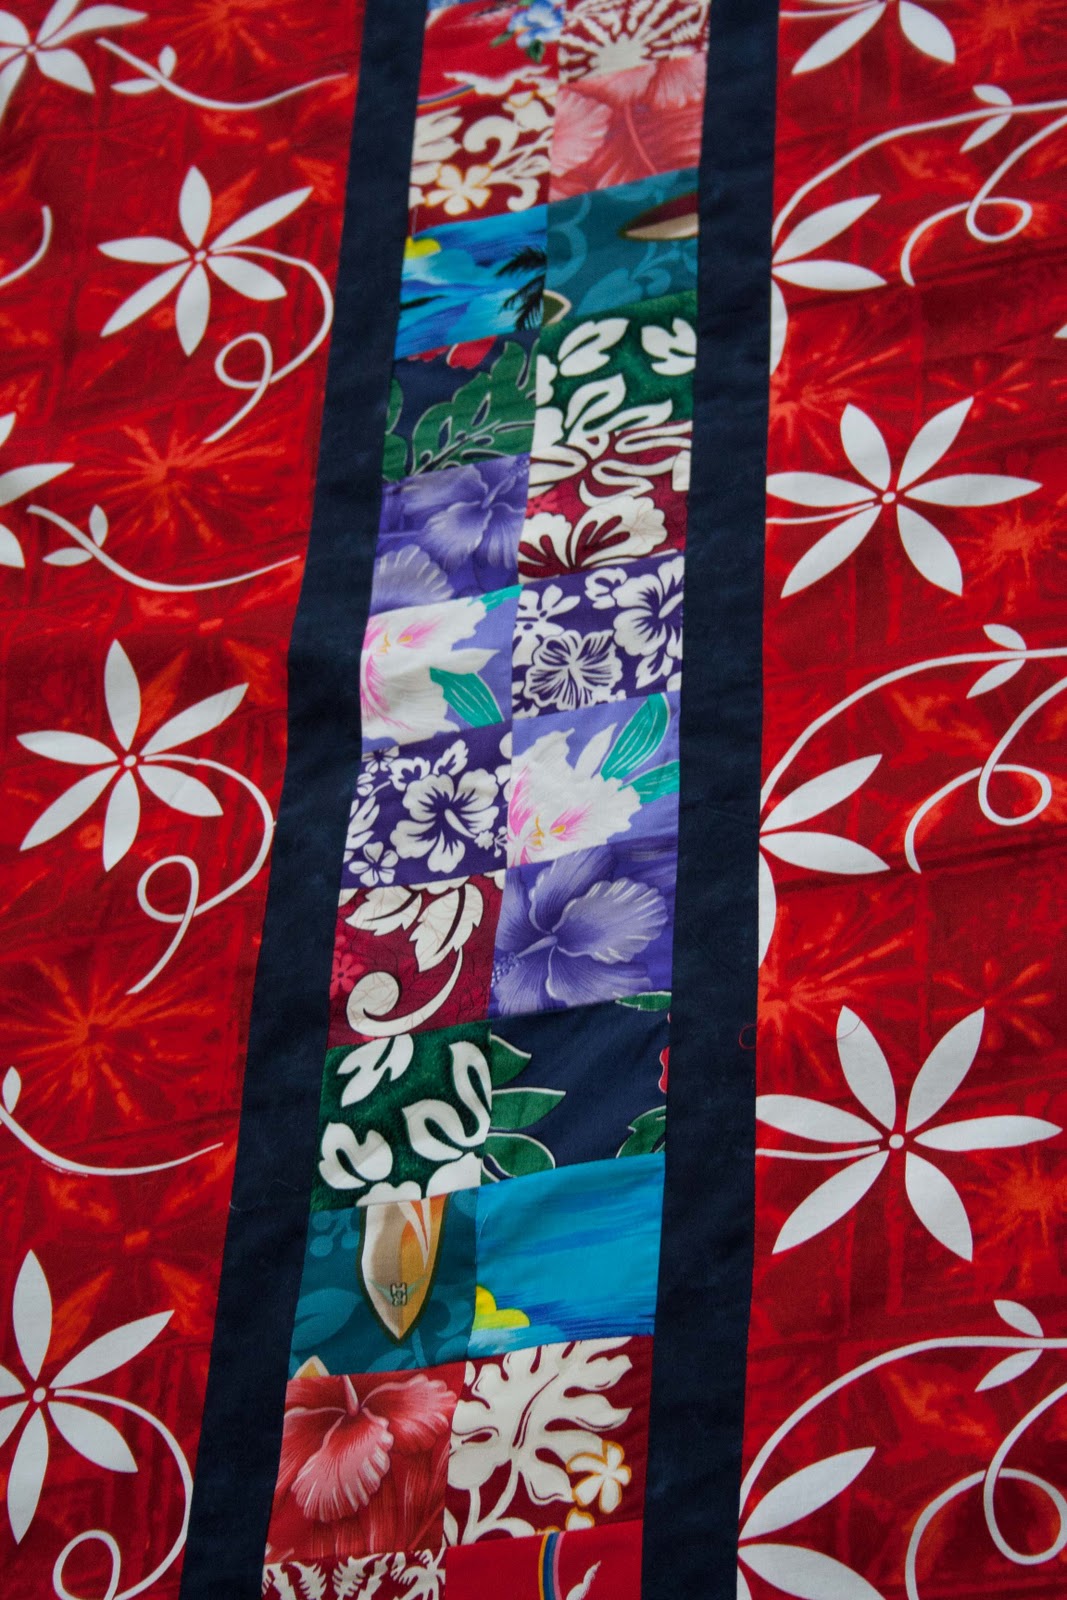
I don't like seams on the back so I put this little bit of trim that breaks up the seams and is a nod to the front.  I'm still using my original pile of fabric which makes me proud.  I think I can get one small quilted pillow of of the last bits of the remnants.


I will now sandwich these two ENORMOUS pieces of fabric and attempt to quilt them using my normal little sewing machine.  I have read some techniques involving rolling and unrolling fabric making it easier to manage, but I have NEVER done this before.  Luckily this is meant to be quick and inexpensive and however it comes out I'm sure I can style the bed so it looks great :)

Tuesday, March 22, 2011

King-Sized Fun

While in the fabric store,  I casually mentioned that I was going to use some sheets from Ikea.  WELL this is apparently the worst thing I could ever do.  Quilting purists feel that sheets are just not appropriate, and why would you put all that work into something that was made of sub-standard materials, specifically cheap sheets.

 Hmmph.  I want this to be inexpensive and quick, I am not creating an heirloom but a trendy bed covering that at some point will turn into a blanket we use at the beach.  Sheets are huge and I already own them, so therefore have renamed this project from "quilt" to "bed covering".  Now all the quilting purists can relax.

The top is finished, and looks great, sheets and all.  In reality it's just the contour sheet that I cut up, the flat sheet is still in tact, and will not be used for the back as originally planned.  I have some other ideas.

It took longer than I anticipated to get the composition of the stripes looking good, not repeating vertically or horizontally in an annoying way.  I'm very happy with how it turned out.  It is SO much easier to cut things out of pretty half yard chunks than random scraps.   Stack.  Cut.  Done.

This picture was taken not for the blog (but it is handy...) but due to a small mobile baby and 2 kitties my fabric squares would not have stayed like this for very long at all!  As it turns out I made the spaces in between the strips much wider than the original pattern called for, I went to 7" instead of 5.  I thought it looked better on the larger quilt.

I have a great idea for the back, should be done in a few days.  I am both excited and apprehensive about the actual quilting portion of this project.  This is a huge blanket, and I want it to turn out nice.

Saturday, March 19, 2011

Bed Makeover

While at the fabric store procuring a back for my Hawaii quilt, I bought supplies for my next project.

Isabella is always a huge help.

The first room of the house we decorated was the master bedroom.  I thought it was a good idea to wake up in a decorated space.  It would be soothing and then after everyone is awake and has their wits about them the rest of the undecorated/unfurnished house would await.  But that room would be a nice little oasis from it all.  Our first winter we were still on propane, which among other things is expensive, so since we were working most of the time, we treated our bedroom like a studio apartment, thereby saving ourselves some heating costs.

I didn't have any trouble with paint color and the furniture is really nice, and I like the room, but bedding... I've always had trouble,   Currently my bed looks like this:

Very Unremarkable

That is a on-sale duvet of micro-suede, those are some tone on tone euro-shams and boring sheets. Beige and white... I know it's hard to believe the person who picked out that red fabric could have such a large swath of beige in her house... but it's true!  The duvet is snuggly, warm and child/pet friendly, just not very exciting.   So for my next project I am going to give my bed a makeover!  I want it to be relatively easy to complete, be appropriate for the warm weather which is already upon us, and freshen up the room.   So from my favorite quilting blog I found this pattern.  It looks easy and modern. 

She is such a shy little girl.

I picked up some prints from the Central Park by Kate Spain by Moda,  some semi-solids of Fiber Weave by PB Studio and two batiks.  I bought 1/2 yard of the 7 fabrics.  This will definitely be enough to do a simple quilt, and ideally there will be enough left over to make two euro shams as well. 


I then rummaged through the linen closet and found a set of white king sized sheets from Ikea.


I have turned the contour sheet into a big piece of usable fabric (76x100"), this will be cut up to be patched into the front. The sheets were then washed and ironed.  Ugh I do not recommend ironing a king sized sheet.

Now the super fun part!  Piecing the colors and putting it all together!!  Stay Tuned!

Thursday, March 17, 2011

Back o' the Quilt


Well, if anyone had told me that I would be finished with the back just two days later I would have said they were crazy.  BUT ITS FINISHED.


So I know what you're thinking, "wow Liz... that's REEALLY red".  Yes, yes it is.  But I'm not afraid of color and, let's not forget this is the back of the quilt, so this will only show when little bits of it peek out, perhaps if it's folded carelessly or turned back.  I could have chosen a dirtier, darker red batik for the back.  It was very boring.  The front is so exciting and the back needed a nice big "Hawaiian" print.  I was actually looking for something that had more blue and green in it as well as red, but apparently this season tropical looking fabrics are not in, or at least not in now.   I love red, it's one of my favorites and the print couldn't be more perfect. 

The back is significantly larger than the front.  At the end of the day I'm not exactly sure where my patchwork strip will land, but I'm thinking around the bottom third.


The patchwork strip is an idea I got from reading my favorite quilting blog.  All of her quilts have interesting backs, nothing too complicated but way more fun than just one big solid.  This is very smart because it uses up some leftover scraps, and it allows you to not have any awkward seams.  The strip came together really fast and its just the slightest nod to the front of the quilt.

The next step is to procure batting and quilt 'er up!  So I know how to procure batting, but I have no idea how to properly quilt something like this.  From some previous projects know how to bind very nicely, but again... that pesky quilting part.  So since I really do not want to sew lines, on the bias or otherwise; I am going to practice doing some curly q's and see if I can't quilt this up myself.   The original goal I set for myself was to have the top of the quilt done by May.  I have the top AND bottom done and it's only March!  It has been five years and i'm not going to rush the quilting.

I could pay someone to do it, but as this seems to be something I enjoy it's high time I learned how.  Eventually there will be another post showing the completed quilt, but it's going to be awhile, already something else had caught my attention, and this project I can actually complete :)

Tuesday, March 15, 2011

Top of the Quilt!

 
This is my first real attempt at a scrappy patchwork quilt.  I am really happy at how the top worked out, and when it's photographed from about 10 feet away it looks a lot like a stained glass window!   I used TONS of pins to make sure that everything lined up.  I am the kind of person who rushes through everything and then regrets that I didn't take a few more minutes to do something right.  So it was very painful for me to put as many pins in and check and double check like I did, but I'm SO glad I did. 


Now I need to start working on the back.  This is what I have.  (Cute baby not required to make a quilt)


Lately I have reading Elizabeth Hartmann's quilting blog, and I love what she does for the back of quilts, it's simple but not just a plain piece of fabric.  I just ordered her book, and may wait for that before I start cutting.  As you can see I don't have a lot to work with and will probably need every last bit.

What's cool is I still have so much fabric left from the original box that I think I could make at least one more quilt.  I probably won't do it next because I want to try something else with bigger pieces and other colors.

Sunday, March 13, 2011

The Hawaii Quilt

We went to Maui for our honeymoon.  It was great.  We stayed in Kapalua which is the northwest corner and the weather there isn't good.  It's ridiculously windy on the beach and it rains almost every day, comparing this to Lahaina which is slightly to the south (5 miles) and has unrelenting heat day in and out, or to Wailea which is south and more east and has beautiful weather.  Next time we'll stay in Waliea, just a travel tip. 


It was also almost 5 years ago. 

While we were there, I purchased a box full of scraps of Hawaiian fabric.  I was newly married and had a new sewing machine and thought I'll make a funky wedding rings quilt what a great keepsake from our totally fun honeymoon.  Yeah... those are hard quilts, there are tons of curves, lots of hand sewing... Then I realized that most of my little scraps wouldn't even fit the pieces I needed to cut to make a wedding rings quilt.  It was all very overwhelming and I just shoved all the fabric back into the box and forgot about it.    A year later we were settling into our new house and in the unpacking I came across my Hawaii fabric.  I decided it was time.  I sorted it by color and determined I could cut 3" squares.  So i did.  I was inspired by some "watercolor quilts" I had seen somewhere and figured with enough small squares I could figure something out. 

320 squares later, and viewing of "Spies Like Us" and "All the President's Men" from Netflix I had the beginnings of a quilt.  I wish I had a photograph of them all spread out on the floor, it was crazy, but you'll just have to take my word for it.  Then calamity.  I couldn't get my sewing machine to work.  The tension was ALL wrong and I was so upset, I should be able to just sew some squares together!!  (Turns out it was user error...  but whatever at the time I was yelling at the machine).  Everything went into a box, and was basically forgotten.  Christmas 2009 I was surprised with a new and improved sewing machine, that I love, and more importantly know how to operate.    I quickly got to work sewing up the squares.

8 of these were created


4 of these for the corners
4 of these in the middle like a square

 
8 of these on either side to make a pseudo border

To be assembled roughly like so

After the squares were finished I laid them out on the floor, and it just was too busy, something wasn't right.  Again it all went into a bag and into hibernation.  Then, last week I was reading my favorite quilting blogs, and saw.. sashing!  What if I added an attractive border around each block!  I think that might break it up and add the richness I need!

The fabric has been purchased, and just needs to be applied.

Like I said, it has been almost 5 years since I started this project.  I am in no hurry to complete it now, I just want it to be perfect.  It will be my first patchwork quilt.  Stay tuned :)

Thursday, March 10, 2011

The Walking Foot or A Beautiful Quilt for Isabella


It's not patchwork, it's 2 pieces of fabric that I bought on sale at Joann fabrics, one "simply silky print" (which is a nice way of saying polyester) and some thick red fleece.  It is crazy rainbow colored.  I love rainbow colored, it's also very soft and because it has quilt batting it's also going to be warm.  It also happens to match her stroller.  The light yellow binding isn't my first pick, I wanted off white, but it didn't exist and since this fabric was on clearance, and can not be purchased anymore, making my own binding (which I have never done before) wasn't an option.  But it's raining here and light yellow is fun, so there it is.  I also used variegated thread, that was rainbow colored, if there wasn't enough color already. 


I have successfully quilted them together!  Those lines are 1.5" apart...  In the past I have sewn lots of things together, but the idea of actually quilting seemed crazy.  How do you get the lines so straight? and evenly spaced?   How do the layers stay together?

The answer - a sewing machine walking foot.

This is an enormous foot that is expensive and complicated looking, but wow does it ever work beautifully.  I now realize what has been missing all these years.  It comes with attachments that allow the quilter to make perfect straight evenly spaced lines!  Where was this when I was making the heirloom chenille quilt, wow, all that nonsense of painters tape and rulers and struggling this makes it a cinch!

I learned how to put blanket binding on last project, and this time I got the hang of mitered corners.  There is a great reference here, now I finished it by hand, but someday I will get brave and finish by machine.


I have now put some fun links on the side of my blog, one is for the quilt blog I have been reading and re-reading since I love her stuff, and the other for my friend Amy's photography site.  She is a genius, and after her post many months ago about her expensive camera equipment and how it really made a difference I am now looking into proper equipment and techniques. 

I'm assuming  all of you are already reading the hilarious posts on ohhenrythomas

And lastly, I was hoping for a very cute shot of Isabella snuggling in the blanket, but the 10 seconds it took me to adjust for the shot, this is as good as it got :)  Computer cords are super fun.

Friday, March 4, 2011

Beautiful Things and New Beginnings

My latest find at the fabric store.  I'm very excited to turn these from just piles of beautiful color into something useful and beautiful that I and others can be proud of.

I love colors.  LOVE them.  I like the mixing and matching.  I get so overwhelmed with the colors when I go to a yarn store, or a fabric store.  I always need to have a list and focus before I go in, or else 4 hours will elapse and I will have a basket full of colorful things that will have no real purpose but for me to admire.


I can always tell what type of mood I'm in by the colors I pick when I'm out shopping.  The brighter and friendlier they are the happier I am.  I am capable of purchasing subdude colors and putting together sophisticated color pallettes, my house for example isn't red and yellow, but when it comes to accessories they are simply a reflection of my mood, dark and somber, mellow and relaxed, subtle and sophisticated or energetic and cheery!

I am starting a new phase in my life, Mom will be my primary job title and my job description will become more varied.  I have some idea that I might be able to parlay my love of color into more than just a hobby.  This blog will continue to celebrate my love of color, be it fair isle, or fabrics.

An Heirloom Chenille Blanket

All finished and looking beautiful!

When last I checked in, over a week ago,  I had completed the sewing on my blanket, and had the cutting and binding left.

WELL the cutting was so nerve-wracking I had to take a break and wait for my chenille cutter to come in.  It finally arrived on Tuesday and I very quickly was able to cut all the lines.  I highly recommend getting some sort of tool if you want to make this project.  I figure if my dad always buy a new tool to complete a home improvement project, why shouldn't I. 

Pre-washing but with cut lines
So lines are cut! My binding is ready to go, since I pre-cut and ironed it to make this part as quick as possible and begin enjoying my new blanket.  So in traditional form I just wing it.  I pin it all the way around and proceed to try and top stitch it on.  This is a HUGE fail!!  I really really need to look things up before just attempting them.  After an emergency email to my friend  who is better at sewing than I am, she very calmly explains how to do it.  When I was pretty sure I had no idea what she was talking about, she just did the first part for me on my sewing machine.  I get it now, and was able to hand-stitch the other side.  If you have never bound anything then you don't understand, oh well, perhaps it's better that way.

So now it's DONE, and looks great!  The back has fluffed up some but I think there is a long way to go.  I wll just throw it in the wash alot over the next couple of weeks and watch it get softer and fluffier.